How to choose splashback tiles
What is the best tile for a kitchen splashback?
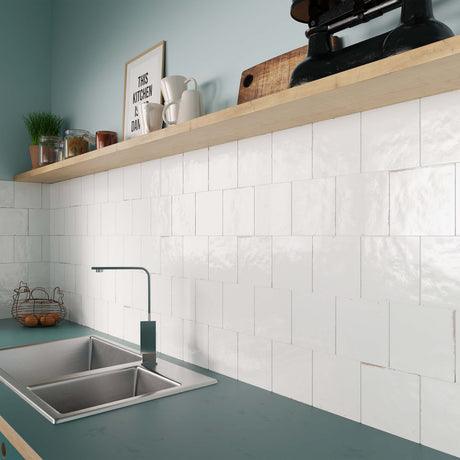
A glazed porcelain or ceramic tile in gloss or satin is the easiest to keep clean behind a sink or cooktop, because grease and water wipe straight off. Subway tiles are the largest group here (326 products), followed by marble mosaics (134), porcelain mosaics (104) and patterned tiles (51). Browse kitchen and laundry splashback tiles for the range picked for kitchens and laundries.
Gloss, matt or natural stone?
Gloss (235 products) reflects light and is the quickest to wipe down, matt (207) hides fingerprints and suits a modern, low-sheen kitchen, and honed (106) and tumbled (40) finishes are mostly marble mosaics. Stone is porous, so seal it before grouting and again over time, and keep it away from the area right behind a busy cooktop if you want minimal upkeep.
What size and pattern should a splashback be?
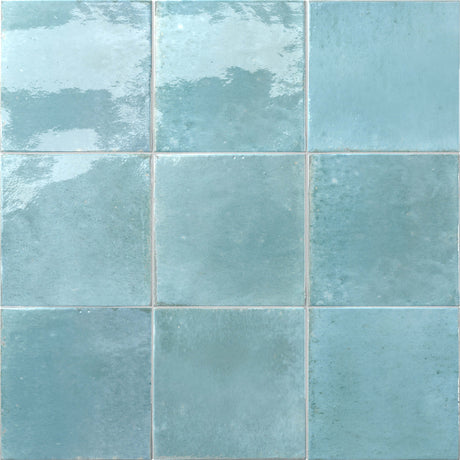
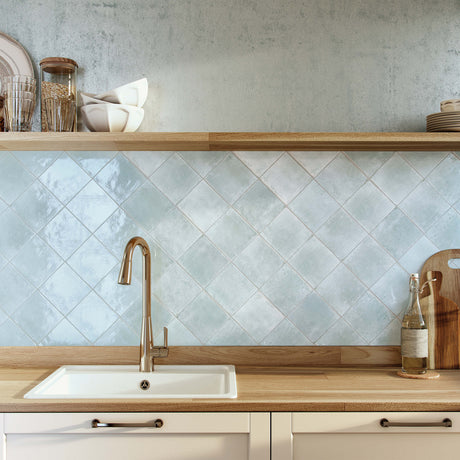
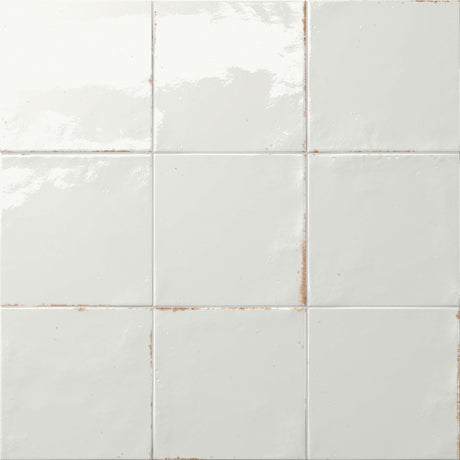
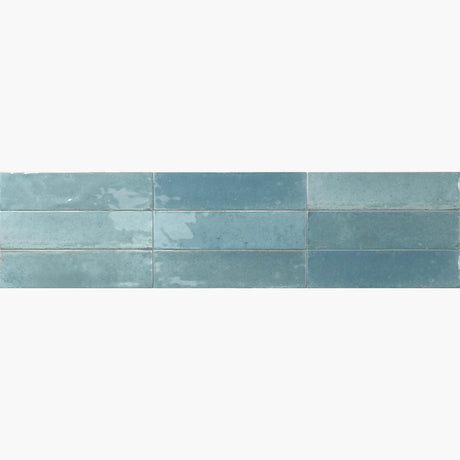
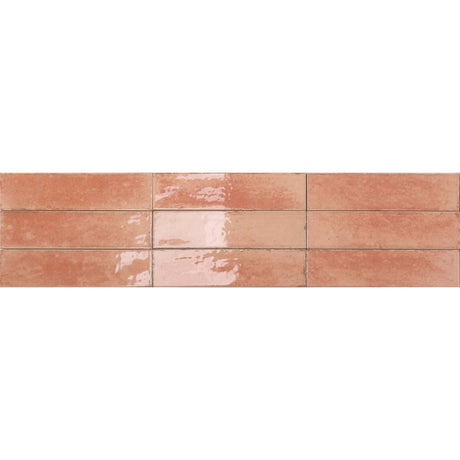
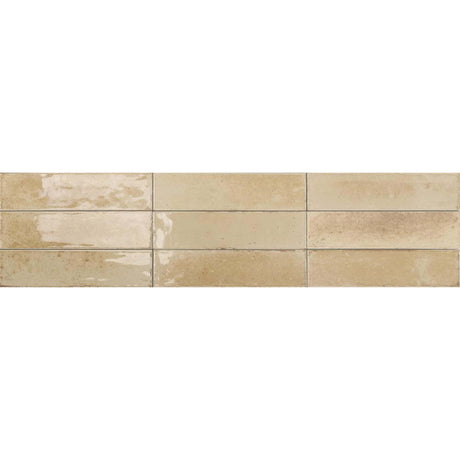
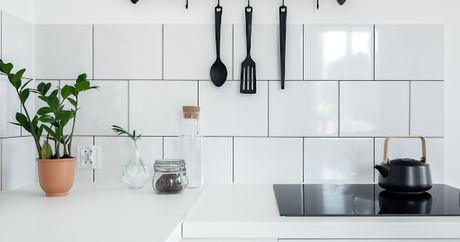
Splashbacks use small formats: 100 x 100 mm squares (49 products), 60 x 240 mm and similar slim subway sizes, and mosaics that fit around taps and power points. Subway tiles laid in a stack bond look modern, a brick bond looks classic, and a herringbone adds movement; Kit kat and finger mosaics give a fine vertical line behind a cooktop.
Which colour and grout should I choose?
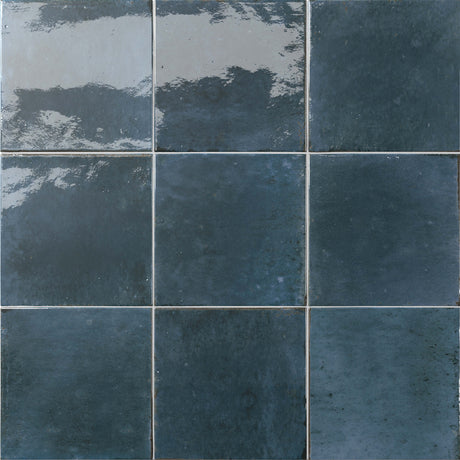
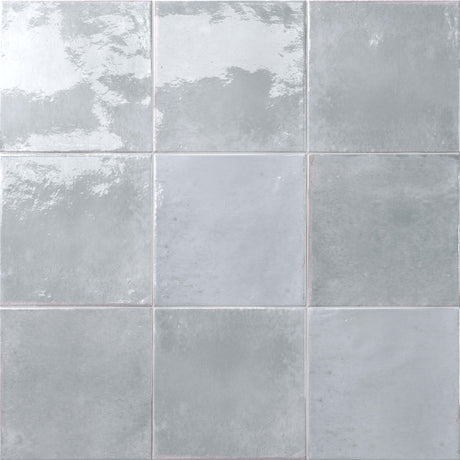
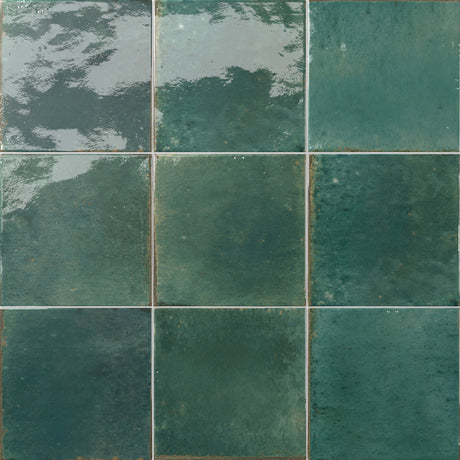
White is the most common splashback colour here (126 products), followed by grey (66), green (39) and blue (38). A grout in the same colour gives a calm, seamless wall, while a contrasting grout outlines every tile and suits subway and patterned layouts. Choose an easy-clean grout for the area behind the cooktop.
Where else can I use splashback tiles?
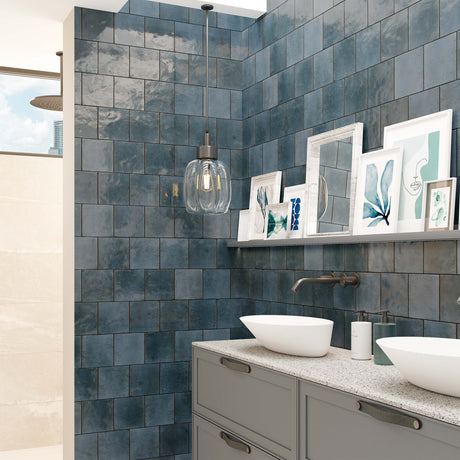
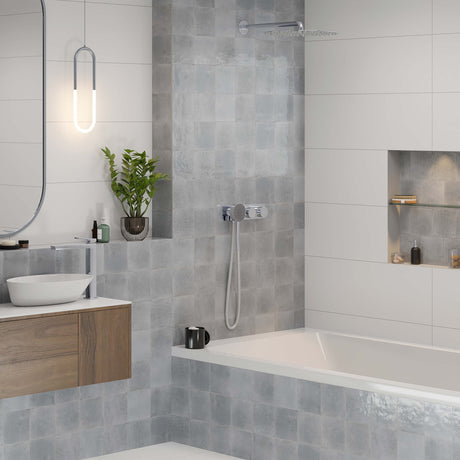
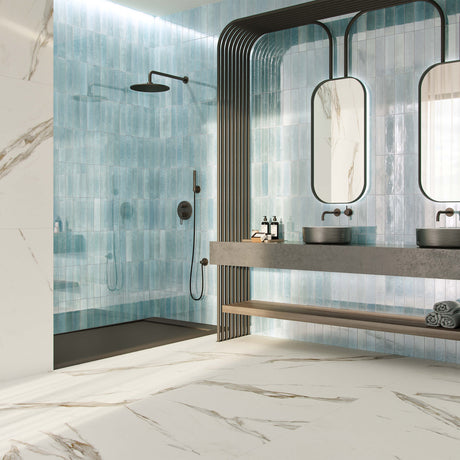
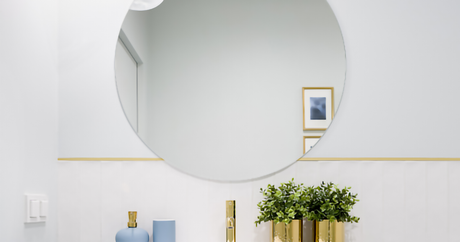
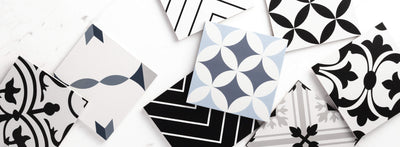
The same tiles work behind a laundry tub, above a bathroom vanity and on a butler's pantry wall. Patterned tiles add a small feature above a basin, and the gloss and subway ranges handle the detergent and toothpaste splashes in laundries and bathrooms as well as they handle kitchen grease.
Which splashback tile goes where
| Area | What to choose | Why |
|---|
| Behind the cooktop | Glazed porcelain or ceramic, gloss or satin | Grease wipes straight off |
| Behind the sink | Subway or mosaic, matching grout | Water and soap splashes |
| Laundry | Gloss subway or mosaic | Detergent splashes, small wall |
| Above a bathroom vanity | Marble mosaic or patterned tile | A small feature, little wear |
Splashback tile FAQs
How do I install a mosaic splashback?
Mosaics come on sheets, so the job is mostly about setting out: mark a level line, spread adhesive with a fine notched trowel, press each sheet in place, keep the joints between sheets the same as the joints within them, and grout once the adhesive has set. Our step-by-step splashback tiling guide covers tools, cutting and grouting.
How long does it take to tile a kitchen splashback?
Most kitchen splashbacks are set out and tiled in a day. The adhesive then needs to cure before grouting, commonly around 24 hours but check the product instructions, and natural stone needs sealing. Allow two to three days from bare wall to a finished, usable splashback.
Are mosaic tiles out of style?
No. Mosaics are still a common splashback choice, and they now come in more formats than the small squares of past decades: slim finger and kit kat mosaics, marble mosaics in herringbone and hexagon layouts, and hexagon tiles for a softer look. Our beginner's guide to mosaic tiles shows the range of shapes.