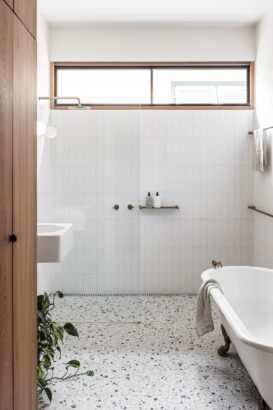
Bathroom tiles are one of those parts of the house that always seem to be shifting trends. As an example, for years, every modern house was renovated to have sparkling white bathrooms as the new thing. Whilst this has by no means gone away, the past decade has seen the reemergence of a more artisanal, natural look in the bathroom design world. With this shift has come a rise in the usage and appreciation of terrazzo tiles. These beautiful stone look tile varieties are one of our most popular tile varieties currently, and we personally couldn’t be more thrilled!
At Tilemall, we are dedicated to providing renovators across Australia with a beautiful range of tiles, bathroomware and kitchenware options to choose from. So, if you’re thinking of dipping into the tantalising world of terrazzo tiles, let’s look at how you can go about putting them into your home with our guide on how to lay terrazzo tiles!
First thing’s first…
What Are Terrazzo Tiles?
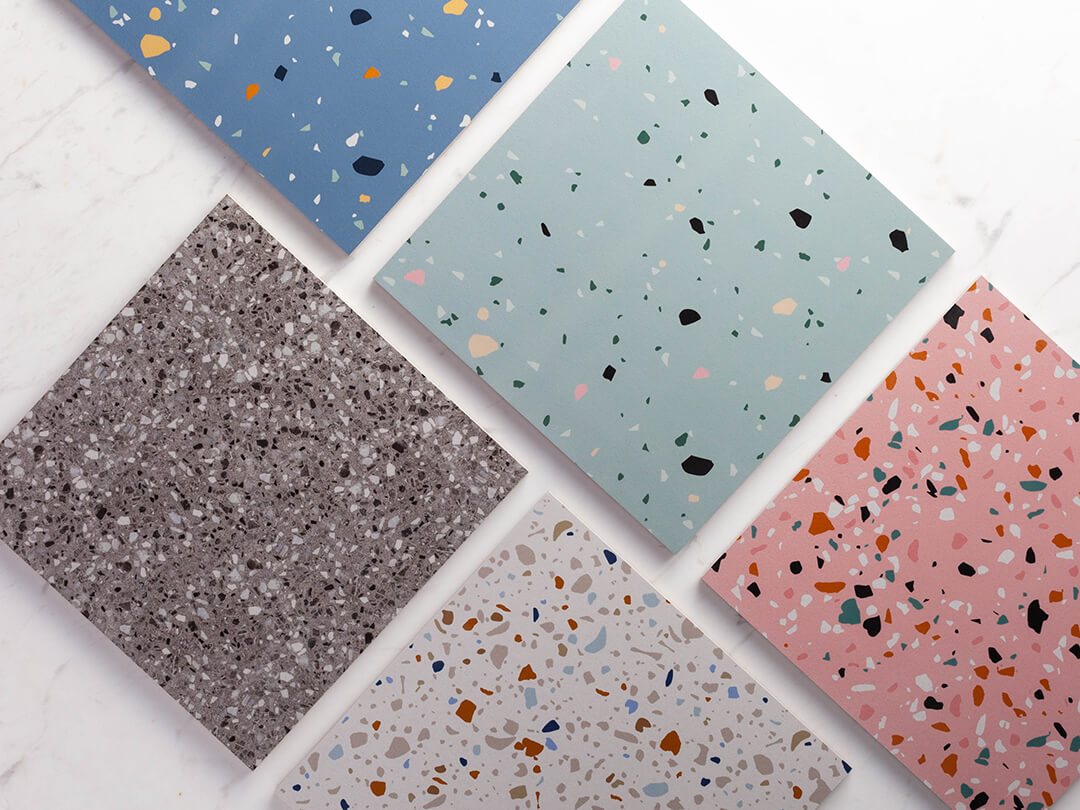
Before we get into how to lay terrazzo tiles, it might be best to take a look at what you’ll be working with. Terrazzo tiles are a composite tile, in that they’re made up of a mix of several different materials. This is what gives them their unique look, as each terrazzo tile is going to be a little bit different from those around it. Generally, this composite is created by placing chips of materials such as granite, marble, or even glass into a cementious mixture of some kind. This blend is then placed in a mould until hardened, creating a unique, textured look that simply cannot be matched for style.

How to Lay Terrazzo Tiles
Now that we know what a terrazzo tile is, we can look at how to lay them. Your terrazzo tiles will need to be laid on a clean, well-levelled surface that has been dried prior to the process starting. After all, having any moisture or dampness in the subsoil of your tile preparation area is going to lead to issues over time that will be far more difficult to deal with once the tiles are already set. Learning how to lay terrazzo tiles as a DIY project is a difficult process, so you want to make sure that you are doing it right the first time.
Once your area is prepared and fully set up for your new terrazzo tiles, you can start the installation process:
Step One: Apply the Adhesive For Your Tiles
Naturally, your terrazzo tiles aren’t going to stay down by themselves, so you’ll need to lay down an adhesive. Tile adhesive tends to be comprised of polymers, cement, and additives, and is one of the more popular choices for tiling. Sometimes you’ll find other adhesive options being used, but if in doubt, it’s best to pick up tile adhesive which has been specifically created with tiles in mind.
You’ll need to start by evenly applying your chosen adhesive across the surface that will house your tile. This can be done with a large-tooth comb trowel, which will help you to keep the surface level and cleanly coated in the adhesive. From there, you should also apply some adhesive to the back of your tile to ensure that it is adequately prepared.
Step Two: Position Your Terrazzo Tiles
With your hands, and without using any hammering implements (such as, you know, a hammer) you can then start to position your tiles. Maintain a gap of 1-2mm to make sure that you still have room for the joint. One thing to take note of during this step is whether you have any ducted heating or cooling in an area. If so, then a slightly thicker gap should always be used to avoid issues.
Once your tiles have been positioned on the adhesive, most DIYers who are laying terrazzo tiles will take the chance to put in tile spacers and leave the tile and adhesive overnight or until hardened before moving onto grouting.
Step Three: Adding Grout For Your Terrazzo Tiles
Grout is a vital part of most tiling jobs, and plays a lot more roles in the tiling process than it is often given credit for. It prevents tiles from rubbing together and cracking due to pressure, whilst also protecting the undertile from moisture getting through and causing mould or other issues to develop. For grouting, remove your tile spacers, and use a grout float or filling knife to begin placing your wet grout into the spaces, utilising your chosen implement to even out the grout surface. For additional unwanted grout and mess that ends up on your tile, simply wipe it off with a wet sponge.
Bonus Note: With terrazzo tiles, coloured grouts can occasionally bleed pigment into the tile over time. So, it might be worth investing in a pigment free variety for the sake of longevity, especially if you’re trying to install bathroom floor tiles.
~ The process of learning how to lay terrazzo tiles is a fun and exciting DIY task for enthusiasts of all kinds. So, if you want to take it on for yourself, feel free to explore the terrazzo tile range at Tilemall today. With hundreds of tile varieties to choose from, we’re sure to have something perfect for your next project.
